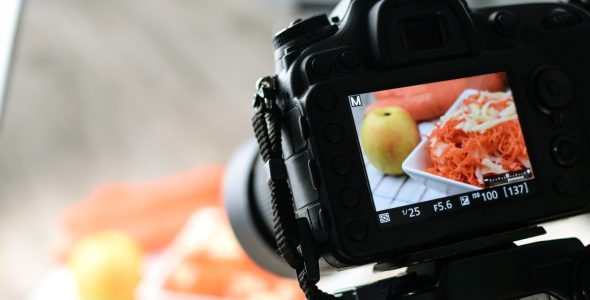
Macro photography captures intricate details that are often invisible to the naked eye, but achieving a sharp focus across the entire subject can be challenging. Focus stacking is a technique that combines multiple images captured at different focus points into a single image, resulting in a final image with sharp details throughout. This technique is beneficial for macro shots, where the depth of field is very shallow. Here’s a step-by-step guide on how to achieve focus stacking in Photoshop for stunning macro images.
1. Capture Multiple Images with Different Focus Points
The first step in focus stacking is to take a series of photographs with varying focus points. Start by setting up your camera on a tripod to ensure stability. Choose your desired subject and focus on the nearest point of the subject, then take a shot. Gradually shift your focus to different areas of the subject, ensuring that each shot focuses on a different part. The more images you take (typically 5-10), the better your results will be. Make sure to avoid changing your camera settings (exposure, aperture, etc.) during the process.
2. Import Your Images into Photoshop
Once you’ve captured your images, import them into Photoshop. Go to File > Scripts > Load Files into Stack. In the dialog box that appears, click Browse, select all the images you took, and click OK. Photoshop will now load all your images as separate layers in a single document.
3. Align the Layers
Even with a tripod, slight shifts in focus may cause slight misalignment between your images. To fix this, select all the layers in the Layers Panel, then go to Edit > Auto-Align Layers. Select the Auto option, then click OK. Photoshop will align the images to ensure they match up properly.
4. Create a Layer Mask and Apply the Stack
Next, select all layers again, then go to Edit > Auto-Blend Layers. In the dialog box, choose Stack Images and check the Seamless Tones and Colors option. Click OK, and Photoshop will automatically blend the focused areas from all the layers into a single image. The out-of-focus areas of each image will be masked out.
5. Refine the Image
Once the focus stacking process is complete, you may notice some imperfections or areas that need refining. Use the Brush Tool with a soft brush to paint on the layer mask and correct any issues. You can also use the Healing Brush or Clone Stamp tools to smooth transitions and fix small details.
6. Final Touches and Export
After refining your image, make any final adjustments to contrast, brightness, and color. Once you’re satisfied with the result, save your image in the format you prefer. Focus-stacked images work beautifully for macro photography, where every detail counts.
Focus stacking in Photoshop is a powerful technique that enhances macro photography by ensuring sharp detail from front to back. By following this step-by-step guide, you can create stunning images with depth and clarity that will stand out.
#FocusStacking #MacroPhotography #PhotoshopTutorial #PhotographyTips #PhotographyTechniques #ImageEditing #MacroShots

 My Account


