My Account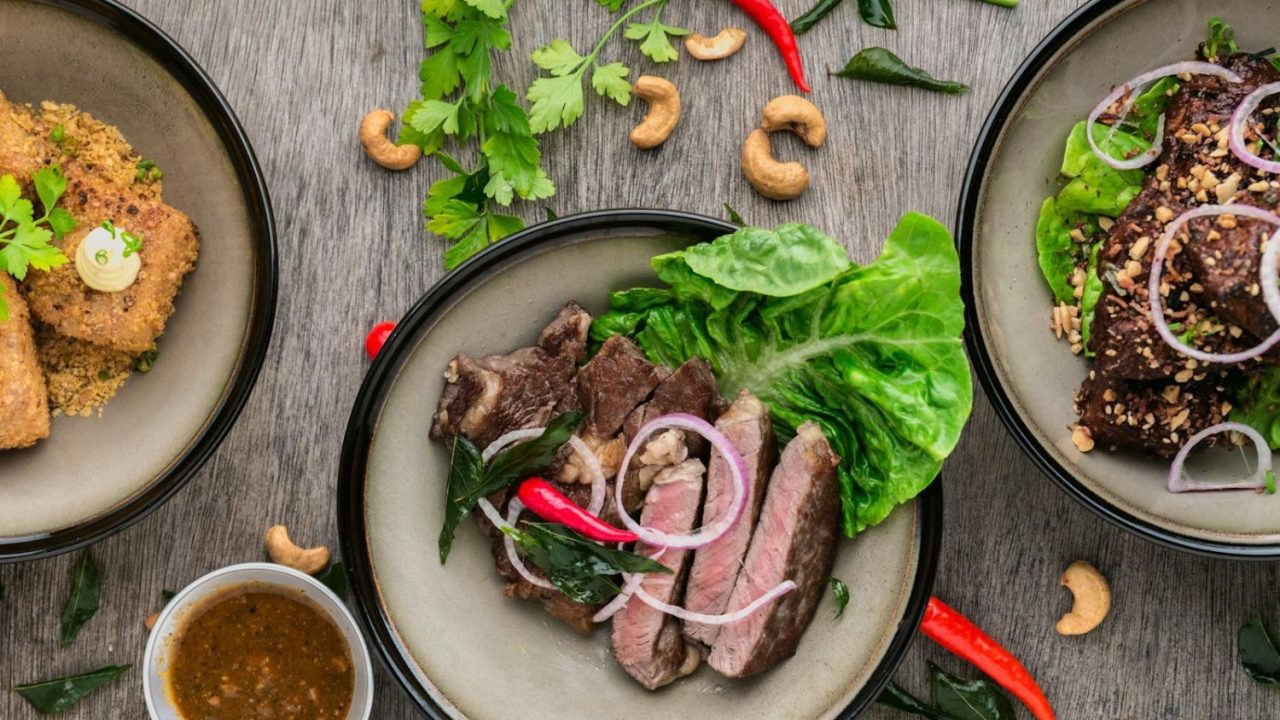
Photographing one dish beautifully is a creative challenge. Photographing an entire menu requires a system.
Every plate has a different shape, colour, height and texture, yet the finished photographs must still look as though they belong to the same restaurant and the same visual campaign.
Consistency does not mean making every image identical. It means maintaining a recognisable approach to lighting, framing, colour and styling while allowing each dish to retain its own character. The work begins before the first plate reaches the set.
Define the Visual Rules
Agree on the intended style with the restaurant or client. Decide whether the images should feel bright and clean, warm and atmospheric, minimal, rustic or premium.
Confirm the background, surface, props, camera angle and amount of negative space required.
Turn those choices into simple visual rules that can be repeated. A small reference board and a few approved test images give the whole team a clear standard throughout the shoot.
Create a Detailed Menu Shot List
List every dish, drink, variation and required format before the shoot. Identify hero items, group images, close-ups and any horizontal or vertical versions needed for menus, websites, delivery platforms and social media.
Mark dishes that require urgent shooting, such as ice cream, salads, fried food and drinks with ice. The shot list should also show preparation time so the kitchen can send plates in a controlled order rather than all at once.
Lock the Camera Position
A stable camera setup is essential when the client expects a uniform menu grid. Use a tripod and record the height, angle, focal length and distance from the subject. Mark the tripod and table positions so the setup can be restored if equipment is moved.
Review the framing whenever plate size changes. Small adjustments may be necessary, but avoid changing the perspective without a clear reason. A reference frame on a connected monitor can help match each new dish to the approved composition.
Keep Lighting Repeatable
Natural light can be attractive, but it may change during a long menu shoot. Controlled artificial lighting usually makes it easier to maintain direction, softness, shadow depth and colour from the first dish to the last.
Record the position and power of each light, reflector and flag. If the light must be adjusted for a tall drink or reflective surface, note the change and return to the base setup afterwards. Consistency is easier when every variation begins from the same lighting plan.
Use a Controlled Prop Collection
Props should support the restaurant’s identity without making the images feel unrelated. Select a limited collection of napkins, cutlery, boards, glasses and background details that share a coherent colour and material palette.
Repeat certain elements across the menu, but vary their placement enough to avoid a template-like appearance. Keep branded items accurate and remove anything that competes with the food.
Set Standards for Plating and Portions
Consistency depends on the kitchen as well as the photographer. Agree on portion size, plate selection, garnish placement and the appearance of sauces before the shoot begins. Use an approved reference image for dishes that will be prepared more than once.
A food stylist or designated kitchen contact should check every plate before it enters the set. This prevents avoidable differences in height, quantity and presentation from appearing across the final menu.
Manage Colour From Capture to Edit
Changing white balance or exposure between dishes can make a menu feel disconnected. Set a consistent white balance, monitor exposure and include a colour reference when establishing the lighting. Calibrated displays help the team make reliable decisions during review.
Editing should correct genuine variation without forcing every food into the same colour. Greens, sauces, meats and baked goods must remain believable. Apply a shared base treatment, then make careful adjustments for each image.
Review Images in Groups
A photograph may look strong alone and inconsistent beside the rest of the menu. Review sets of images together at regular intervals. Compare crop, plate scale, shadow direction, brightness, background colour and prop density.
ShootBrightPhoto.com offers a broad collection of food and drink photography that can help photographers study how separate subjects remain visually connected. Use references to identify principles, while developing a style that fits the client rather than copying another shoot.
Allow Planned Exceptions
Some items need a different approach. A tall cocktail may not fit the angle used for flat plates, and a layered cake may require a side view to show its structure. Consistency should not prevent the most informative view of the product.
Treat these changes as planned exceptions. Preserve the same lighting character, colour palette and overall mood so the image still belongs to the wider collection.
Protect the Workflow on Shoot Day
Assign clear responsibilities for food preparation, styling, capture, approval and file tracking. Name files against the menu list as the shoot progresses and record completed variations immediately.
A disciplined workflow reduces missed dishes, duplicated work and confusion during editing. It also gives the kitchen time to prepare each item properly instead of reacting to an uncertain sequence.
Conclusion
A consistent menu shoot depends on decisions made before the camera starts. Define the visual rules, organise the menu, lock the technical setup and create clear standards for plating, props and editing.
The strongest collection will feel unified without becoming repetitive. Each dish should remain recognisable and appetising, while every photograph contributes to one clear visual identity for the restaurant.
#MenuPhotography #FoodPhotography #RestaurantPhotography #FoodStyling #CommercialPhotography #PhotographyWorkflow #ShootBrightPhoto