My Account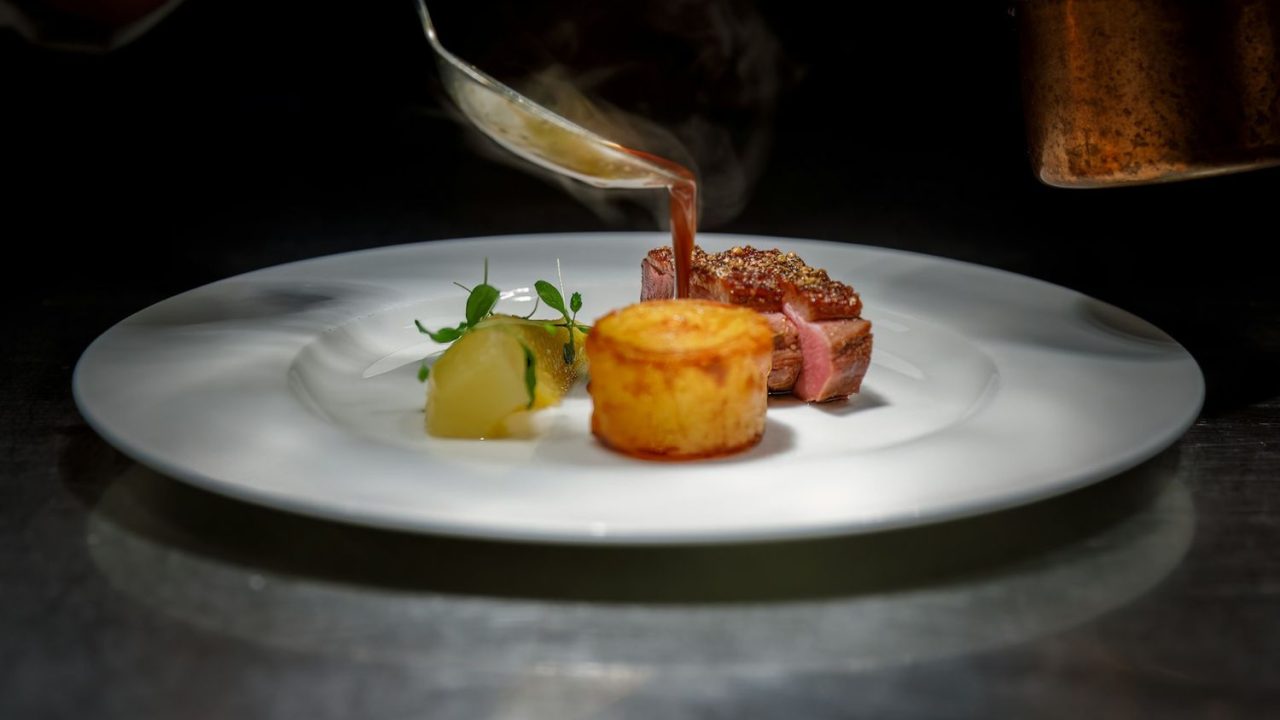
Food photography can look calm and carefully controlled, but behind the camera, timing is often everything. A freshly prepared dish may only look its best for a few minutes. Steam disappears, sauces settle, herbs wilt, ice melts, and glossy ingredients begin to lose their shine.
That short window does not mean you need to rush through the entire shoot. It means you should prepare everything else before the finished dish arrives. When the food enters the frame, your lighting, camera settings, props, and composition should already be in place.
Why Food Changes So Quickly
Food rarely stays camera-ready for long. A bowl of pasta may look rich and glossy when it leaves the kitchen, but the sauce can become dull as it cools.
A burger may begin to lean as its warm fillings soften. Ice cream can lose its shape within moments, while a cold drink quickly develops too much condensation.
These changes may seem small in person, but a camera captures every detail. That is why professional-looking food photography often depends as much on preparation as it does on technical skill.
Build the Scene Before the Food Arrives
Start by arranging the background, plate, cutlery, napkins, and supporting ingredients. If you are unsure about the composition, use an empty plate or a stand-in object while testing different angles.
Set up your light and take a few trial shots. Check the exposure, shadows, white balance, and focus.
You should also decide whether the final image will be taken from above, at table level, or from a 45-degree angle. By solving these details early, you can focus completely on the food when it is ready.
Decide Which Shot Matters Most
Do not begin with random photographs and hope that one works. Choose your most important image before the shoot starts. This could be a clean overhead composition, a close-up showing texture, or a wider scene that captures the atmosphere of the meal.
Take that hero shot first. Once it is safely captured, move on to alternative angles, tighter crops, ingredient details, and action shots.
If you are photographing several dishes, plan the order carefully. Foods that melt, wilt, foam, or lose steam should usually be photographed before more stable items such as bread, biscuits, or whole fruit.
Make Freshness Visible
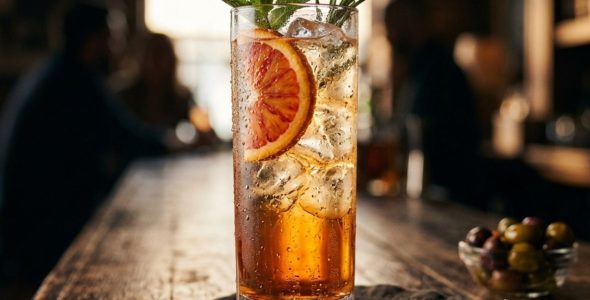
A great food image should help viewers imagine the taste, temperature, and texture of the dish. Capture steam while it is still visible. Photograph syrup as it is being poured or cheese while it is stretching. For drinks, add fresh ice just before pressing the shutter.
Small finishing touches can also revive the scene. A light brush of sauce can restore shine, while a fresh garnish can bring colour and energy back to the plate.
You can find more visual inspiration by exploring the food, drink, and creative photography available on Shoot Bright Photo.
The best food photographs are rarely the result of frantic shooting. They come from patient preparation followed by a few well-timed minutes. Set the scene first, know the image you want, and be ready when the food looks too good to wait.
#FoodPhotography #DrinkPhotography #FoodStyling #PhotographyTips #CreativePhotography #FoodPhotographer